Week Twenty: Feature Requests, Responsiveness and User Guides
Over the course of the last week, we’ve focused on going above and beyond the functionalities in our requirements and implement features (some coming from our own intuitition, most from client feature requests), and completed the manuals for our project: the user manual, deployment manual and a getting started tutorial for the platform.
New Functionalities
SSO (Google)
We started this week by implementing Single Sign-On authentication through Google using our authentication dependency django-allauth. To implement this, we first need to configure our settings.py to install the Google socialaccount provider, and enable it for use in django-allauth. I’ve included the relevant lines that need to be included below:
# settings.py

INSTALLED_APPS = [
 ...
 ‘social_app’,

 ‘allauth’,
 ‘allauth.account’,
 ‘allauth.socialaccount’,
 ‘allauth.socialaccount.providers.google’,
]

...

AUTHENTICATION_BACKENDS = (
 ‘django.contrib.auth.backends.ModelBackend’,
 ‘allauth.account.auth_backends.AuthenticationBackend’,
)

...

SITE_ID = 1
LOGIN_REDIRECT_URL = ‘/’ # this is the path of wherever you want the user to go after they've logged in.

...

SOCIALACCOUNT_PROVIDERS = {
    'google': {
        'SCOPE': [
            'profile',
            'email',
        ],
        'AUTH_PARAMS': {
            'access_type': 'online',
        }
    }
}
After you’ve configured the project settings, the next step that we need to follow is to include the default allauth project urls in urls.py (if you haven’t done so already using allauth authentication):
from django.contrib import admin
from django.urls import path, include

urlpatterns = [
    path(‘admin/’, admin.site.urls),
    path(‘accounts/’, include(‘allauth.urls’)),

    ...
]
And now go to the template that you usually use for logins (we use the standard allauth templates /accounts/login.html) and loop over the social account providers that you have configured to work with your project outside of the standard login form in the template:
...

{% load account socialaccount %}

...

{% get_providers as socialaccount_providers %}

  ...

  {% if socialaccount_providers %}
  <div class="socialaccount_ballot mt-2">
    {% for provider in socialaccount_providers %}
      <a title="{{ provider.name }}" class="socialaccount_provider sb sb-m-2 sb-{{ provider.id }}" href="{% provider_login_url provider.id process="login" %}">
        Sign in with {{ provider.id | title }}
      </a>
    {% endfor %}
  </div>
  {% endif %}

  ...
Opening this template in a browser should now show an option to Sign In with Google. Clicking on this won’t work just yet though, we still need to register our application with Google in order to enable this.
To set up OAuth on Google, navigate to the Google Developers Console, head to the Dashboard and create a new project (if you’ve got a project already, click on this in the top left corner of the page and the create a new project button is here). Give your project a name, and press Continue. Once you’ve done this, head back to the Dashboard, where on the left-hand side you’ll see a link to Credentials. Click on this tab, and then click on the button called Create Credentials when it appears. This should render a drop-down, and when it appears, select OAuth Client ID from the list (this is what we are going to need to proceed with the SSO).
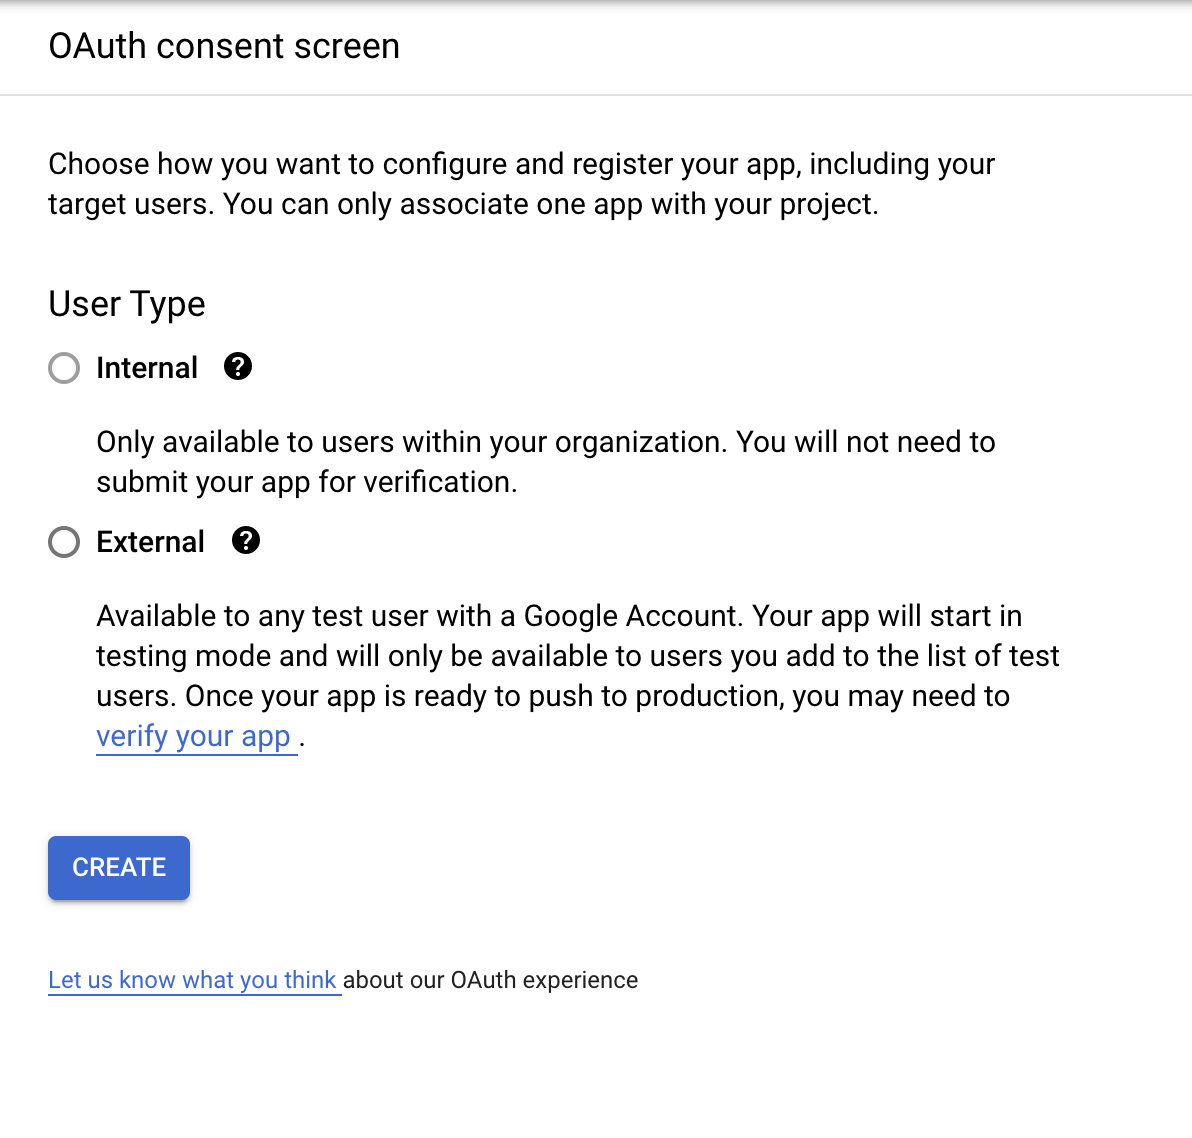
The tab now open will contain a tab for OAuth Consent Screen. This needs to be completed, and without it your application will not obtain the necessary credentials from the Google Developers Console to allow SSO authentication. Assuming that you’re not a Google Workspace user, the only option from the next page that you can select is External, so go ahead and select this and head to the next page.
You’ll be redirected to a page prompting you to provide Google with details about the app:
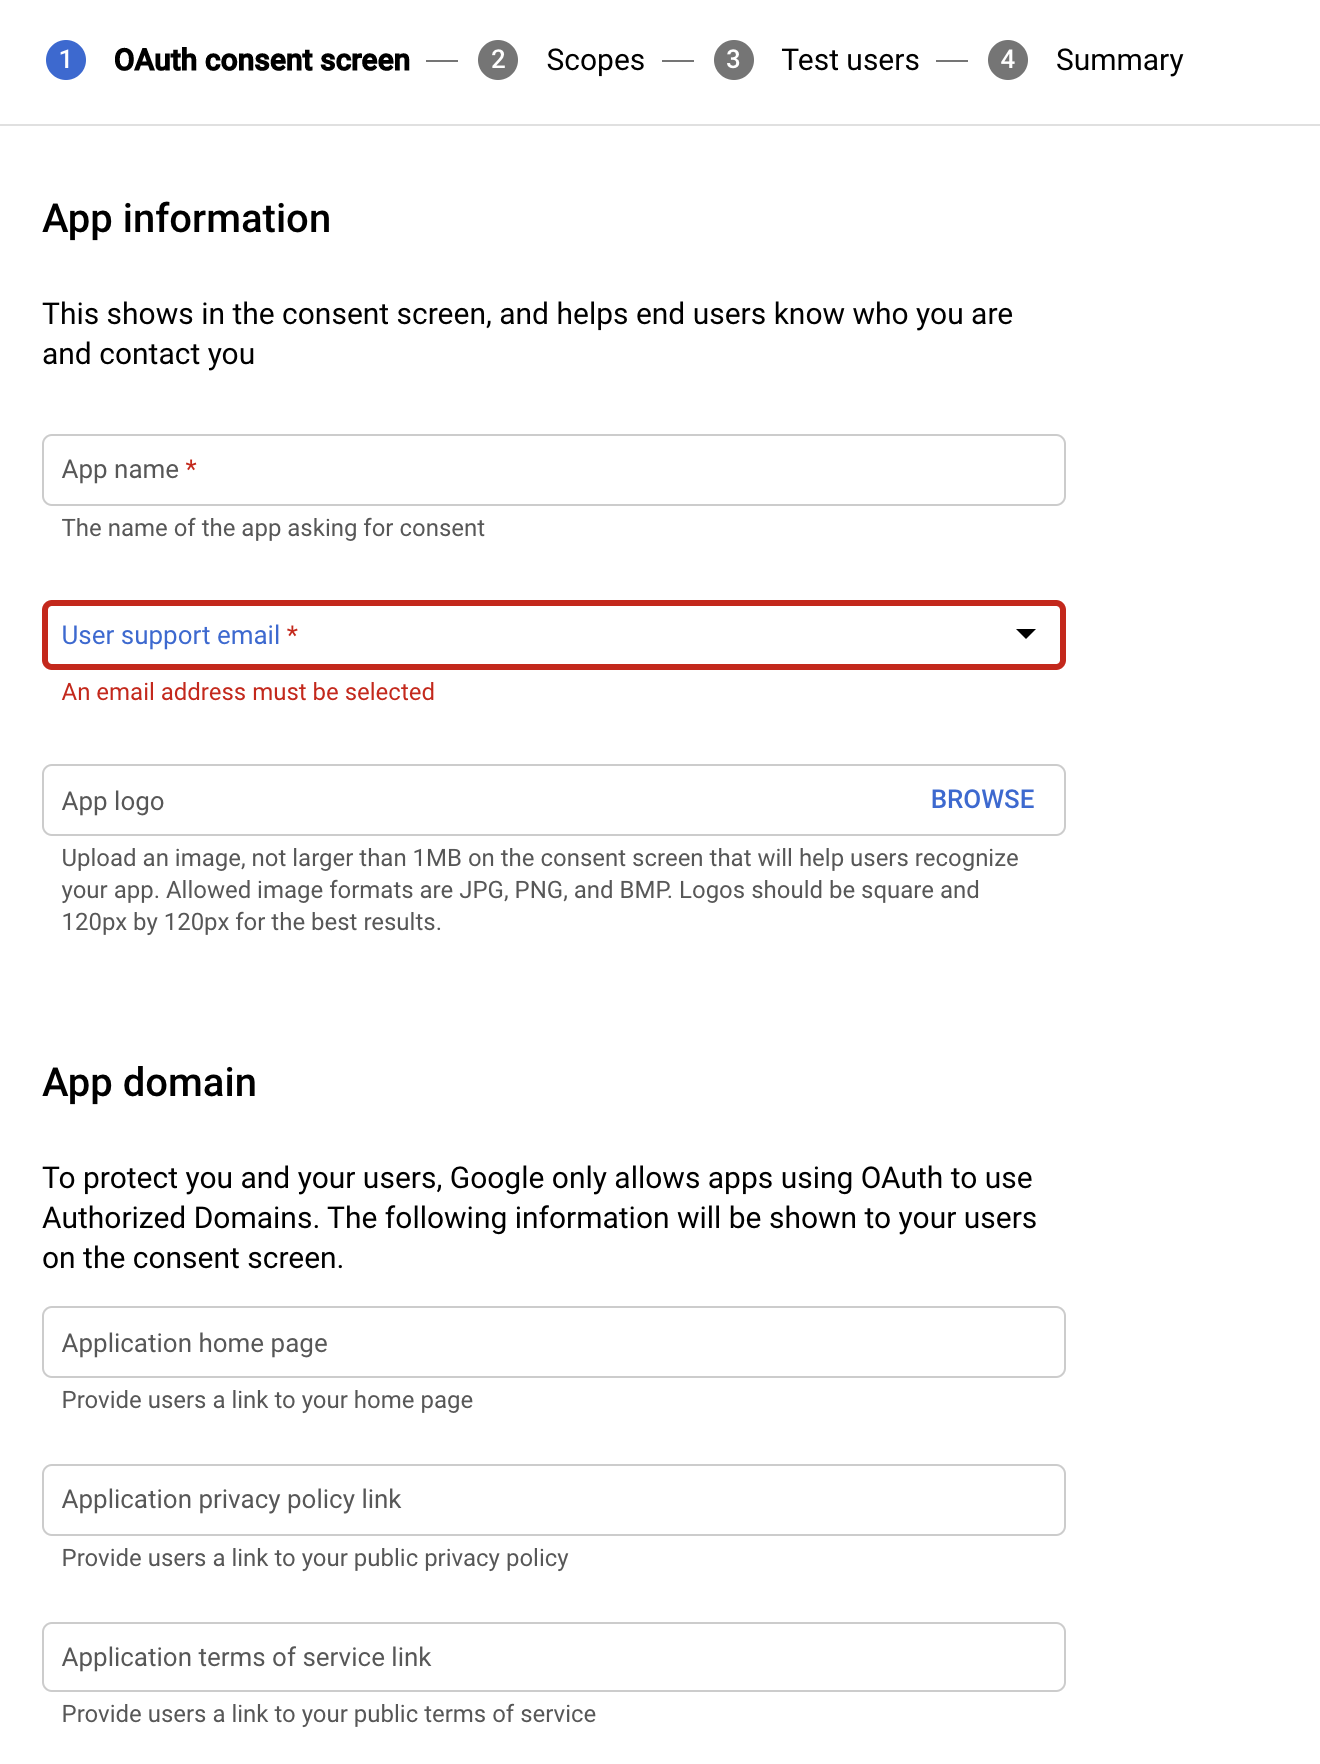
Fill out the App Name, User Support Email and Developer Contact Email (at the bottom of the screen).
Click Save and Continue through the next three pages without providing any additional information. You’ll end up back in the dashboard.
Now that we’ve finally got everything ready to set the OAuth Client ID up, we can finally go ahead and do it!
Click into Credentials again from the dashboard, and click OAuth Client ID from the drop-down as we did last time.
Select the application type that you are developing (in this case, I am developing a web app). Give the OAuth Client a name that you’ll remember next time, and proceed to enter the Authorised JavaScript Origins as http://127.0.0.1:8000. Note at this point, if your application is deployed on a port other than 8000, replace 8000 with this port. You must specify the port here at this stage, if your application is deployed on one in particular.
Similarly, add the Authorized Redirect URIs as http://127.0.0.1:8000/accounts/google/login/callback.
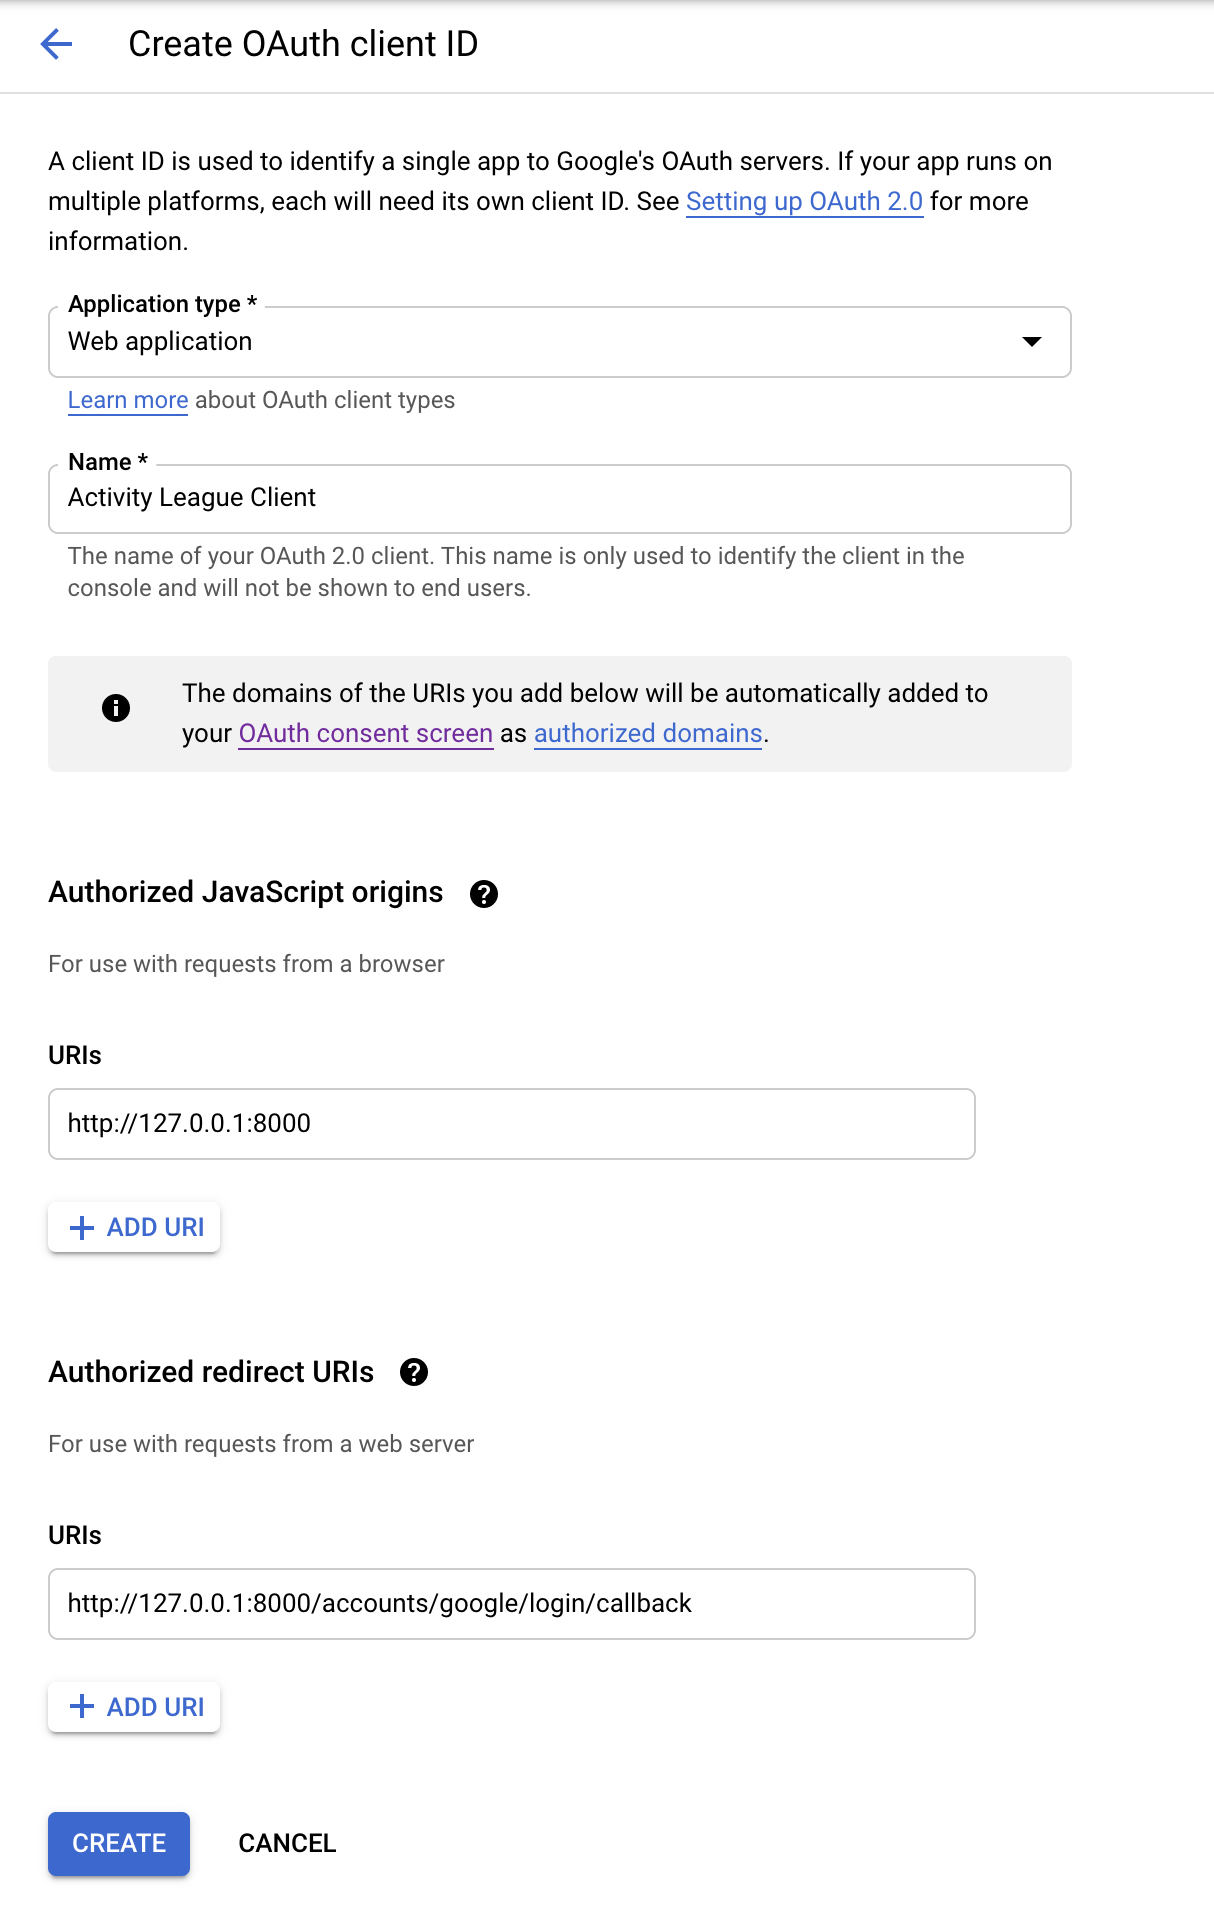
Once you’ve added both of these, click Create at the bottom of the page!
You’ll now be shown a sensitive screen containing Your Client ID and Your Client Secret. Copy these down somewhere, you’re going to need them later.
We’re done on Google’s side of things now. The last few steps involve more configuration for our application.
First, we need to add Google as a Social Account provider. To do this, navigate to the Django admin page for your application and look for Social Applications. Click into this, and add the information that you just obtained from Google:
- Provider: Google
- Name: Google API
- Client ID: (The Client ID from the sensitive page we just saw)
- Client Secret: (The Client Secret from the sensitive page we just saw)
Congratulations! You’re done setting up Google! Head back to the login page of your project using your browser and you should see the Sign in with Google button. Clicking into this should allow you to Sign in with Google!
We couldn’t have done this without the allauth docs and this incredible tutorial.
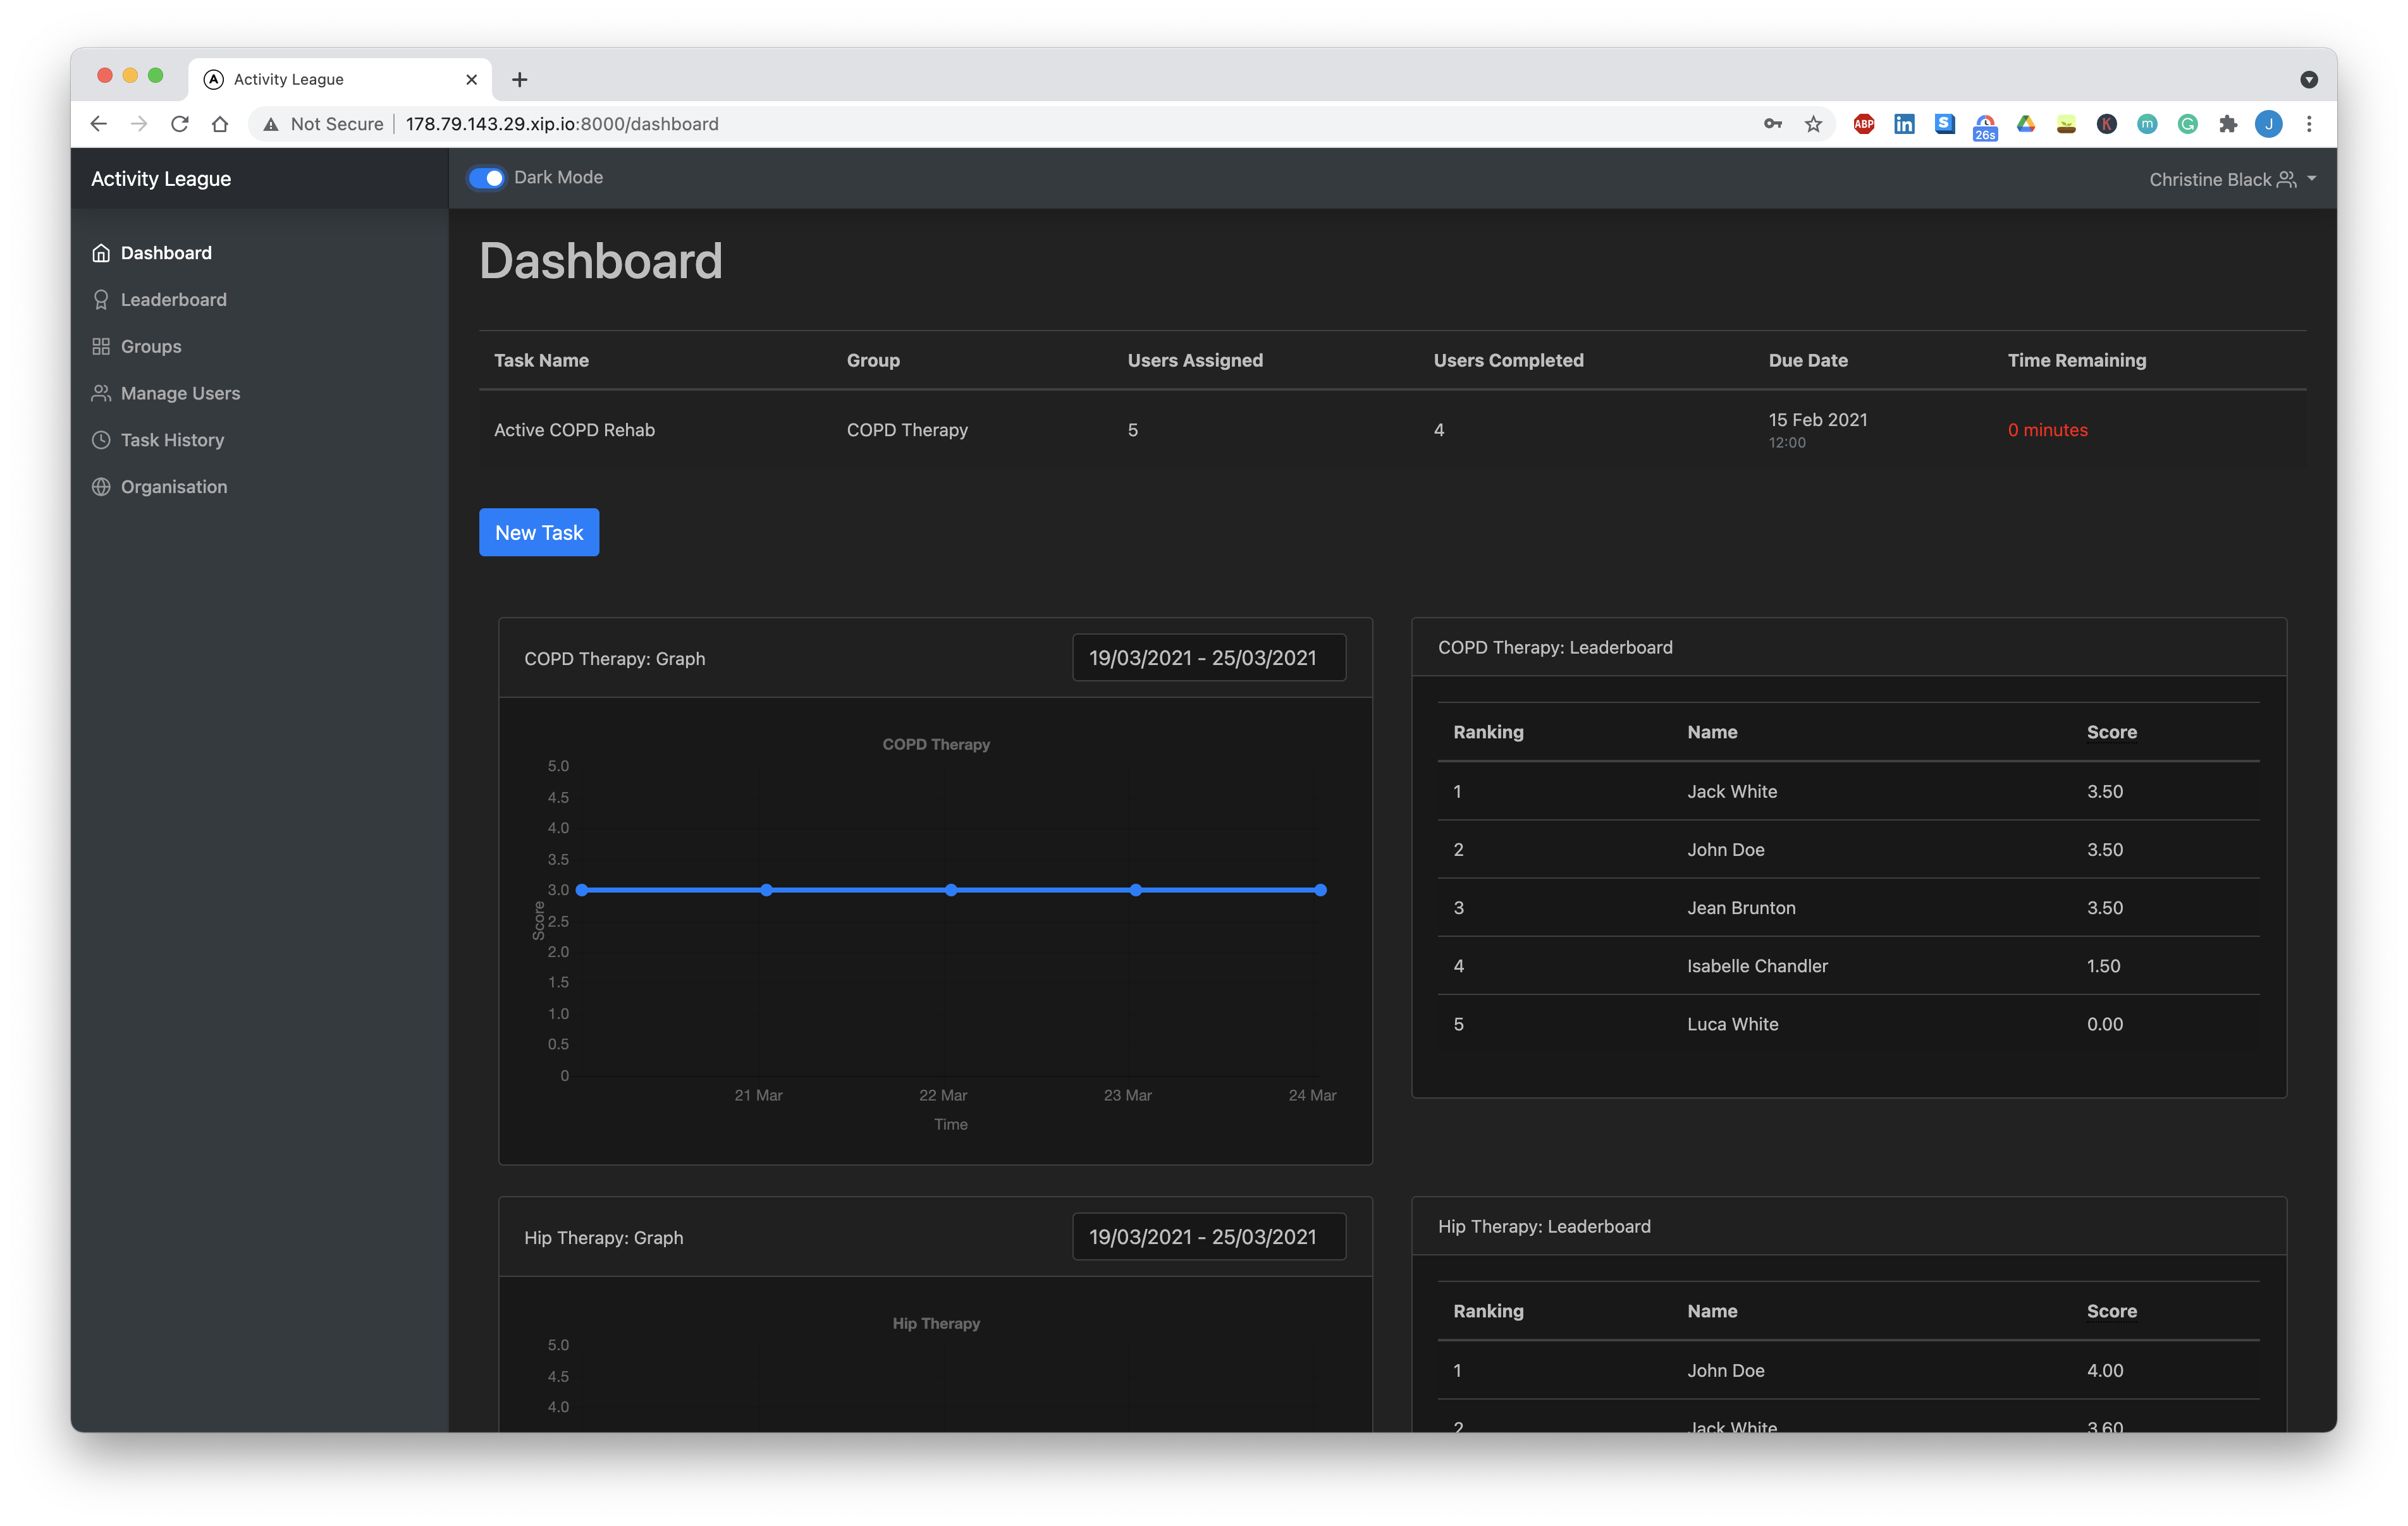
Dark Mode
As an extenson to the required functionality, we’ve also chosen to implement Dark Mode, a toggle at the top of the page which changes the styling for the page and makes interacting with the page easier on the eyes in the dark. Attached is a screenshot of what it looks like on the Surveyor dashboard:
Manage Organisation
Last week, we made the platform invite-only and added the abstraction for an Organisation representing the organisation that is using Activity League. This week, we’ve added a designated page in the surveyor to manage the organisation that has been created.
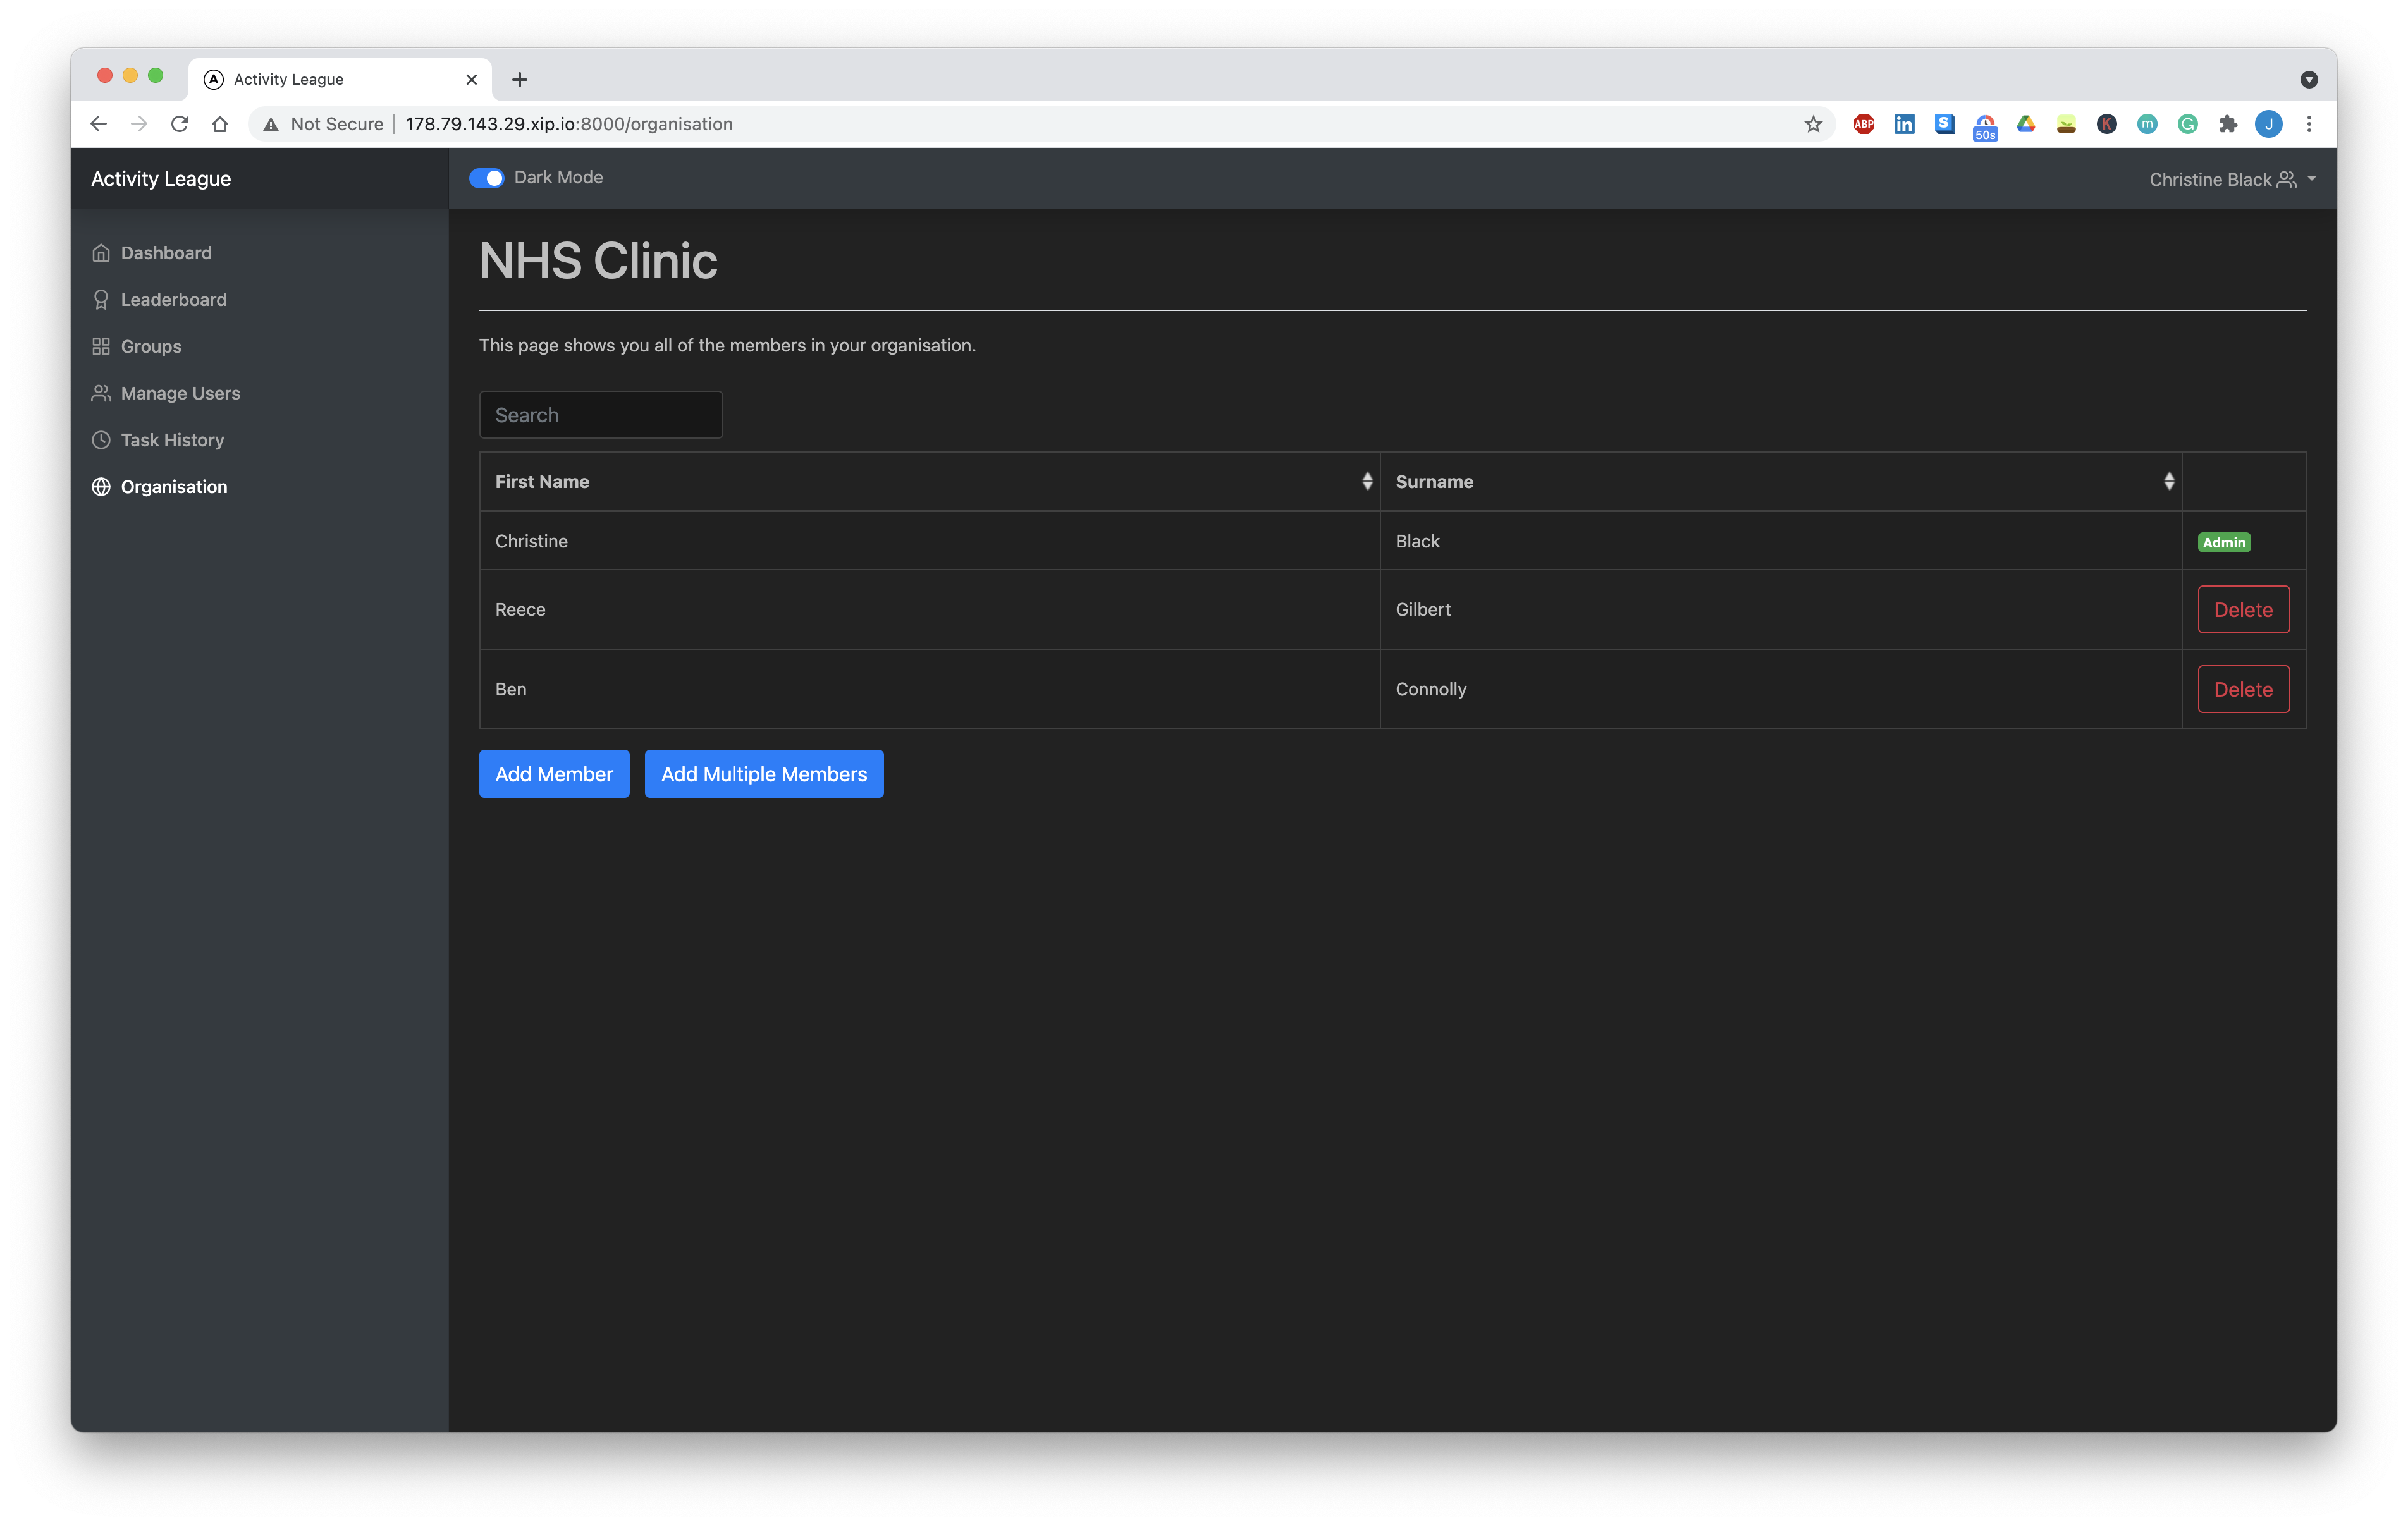
Managing an organisation consists of:
- All Surveyors being able to invite new Surveyors to the organisation by email
- The organisation admin (the person who originally created the organisation) being able to remove other Surveyors from the organisation (this is a special privilege, not everyone should be able to delete Surveyors from the organisation as this is consequential - the deletion of the Surveyor object cascades and causes the corresponding loss of other objects such as created Groups and Tasks).
In practice, the admin here should be either a technician for the organistion, or someone in a position of authority who is able to determine who should and shouldn’t be able to use this platform on behalf of their organisation.
Seed and Load Templates
The ability to seed (save) and load task templates has long been a useful functionality recommended by our clients that we’ve intended to implement.
In practice, clinicians are likely to want to gauge the progress of a group of respondents over time by asking them the same base set of questions, plus some additional new questions for each specific Patient Reported Outcome Measure (PROM). We’ve enabled them to make this process easier by saving a template of those base questions to ask again, which can be easily reused by a Surveyor.

A template can be saved by filling out the task form as a Surveyor normally would, and then clicking the Save as Template button in the taskbar at the top.
The next time that a Surveyor wants to send out that same questionnaire, they could then click on the Load from template button in the taskbar, select the template that they want to load the questionnaire from the drop down looking like the image below, and the template will render accordingly:
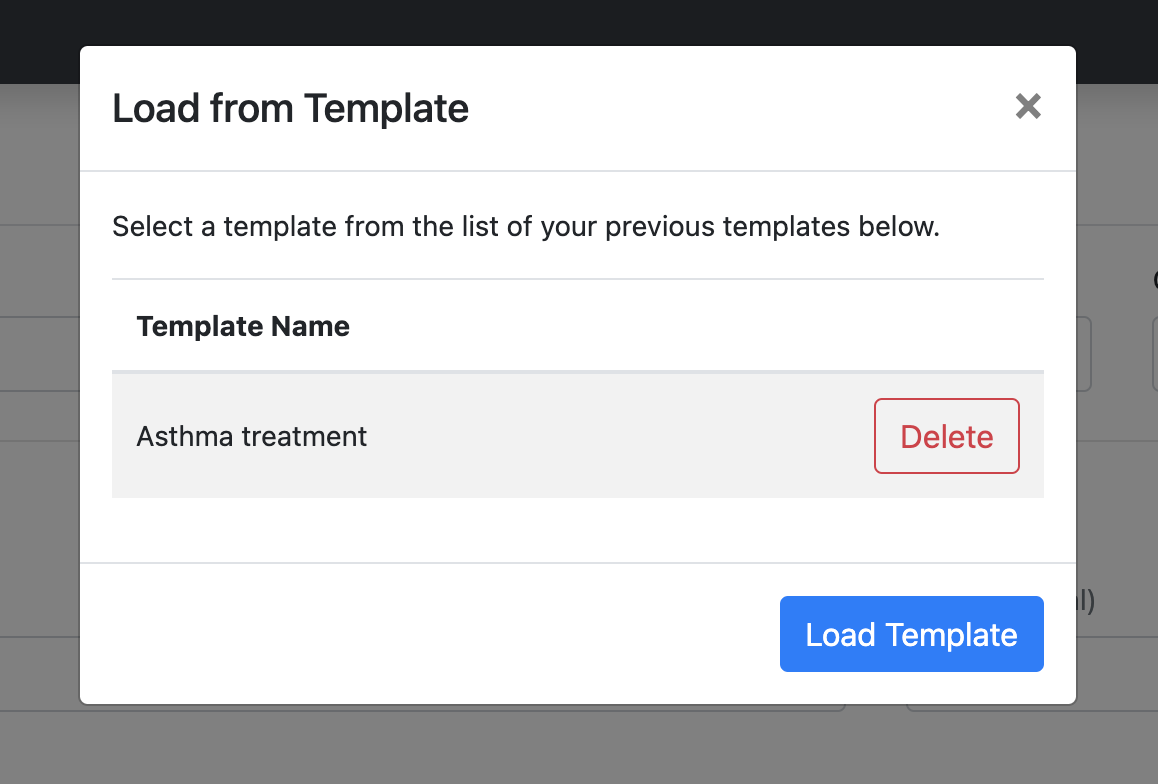
If a user has saved a template, we also give them the ability in this load pop-up to delete templates.
Delete Tasks
We finally implemented the ability to delete a task after it has been set. Previously, it had been the case that once a task had been set, no matter if accidental or not, that task would persist on the dashboard of a Surveyor until either completed by all Respondents or marked as complete by the Surveyor. Irrespectively, the task would appear on the dashboard of the Respondent.
We’ve now finally resolved that issue by giving surveyors the option of deleting a task after they’ve created it, preventing it from appearing on the dashboard of Respondents that it shouldn’t.
To access this feature, click into the task to delete from either the dashboard or the task history page, and click on the Delete Task button at the bottom:

Upon returning to the Dashboard/Task History page, the task will no longer appear.
Responsiveness
This week we also dedicated a large proportion of our time making the web app responsive to different devices and screen sizes. To do this primarily required changing the classes of our existing HTML elements to Bootstrap’s responsive and styled editions.
Over the course of this week we also conducted responsiveness testing manually, using every device that was available using Chrome’s developer tools. We even tested the application on a third of the screen of an iPad Pro!
The results of this were incredibly positive:
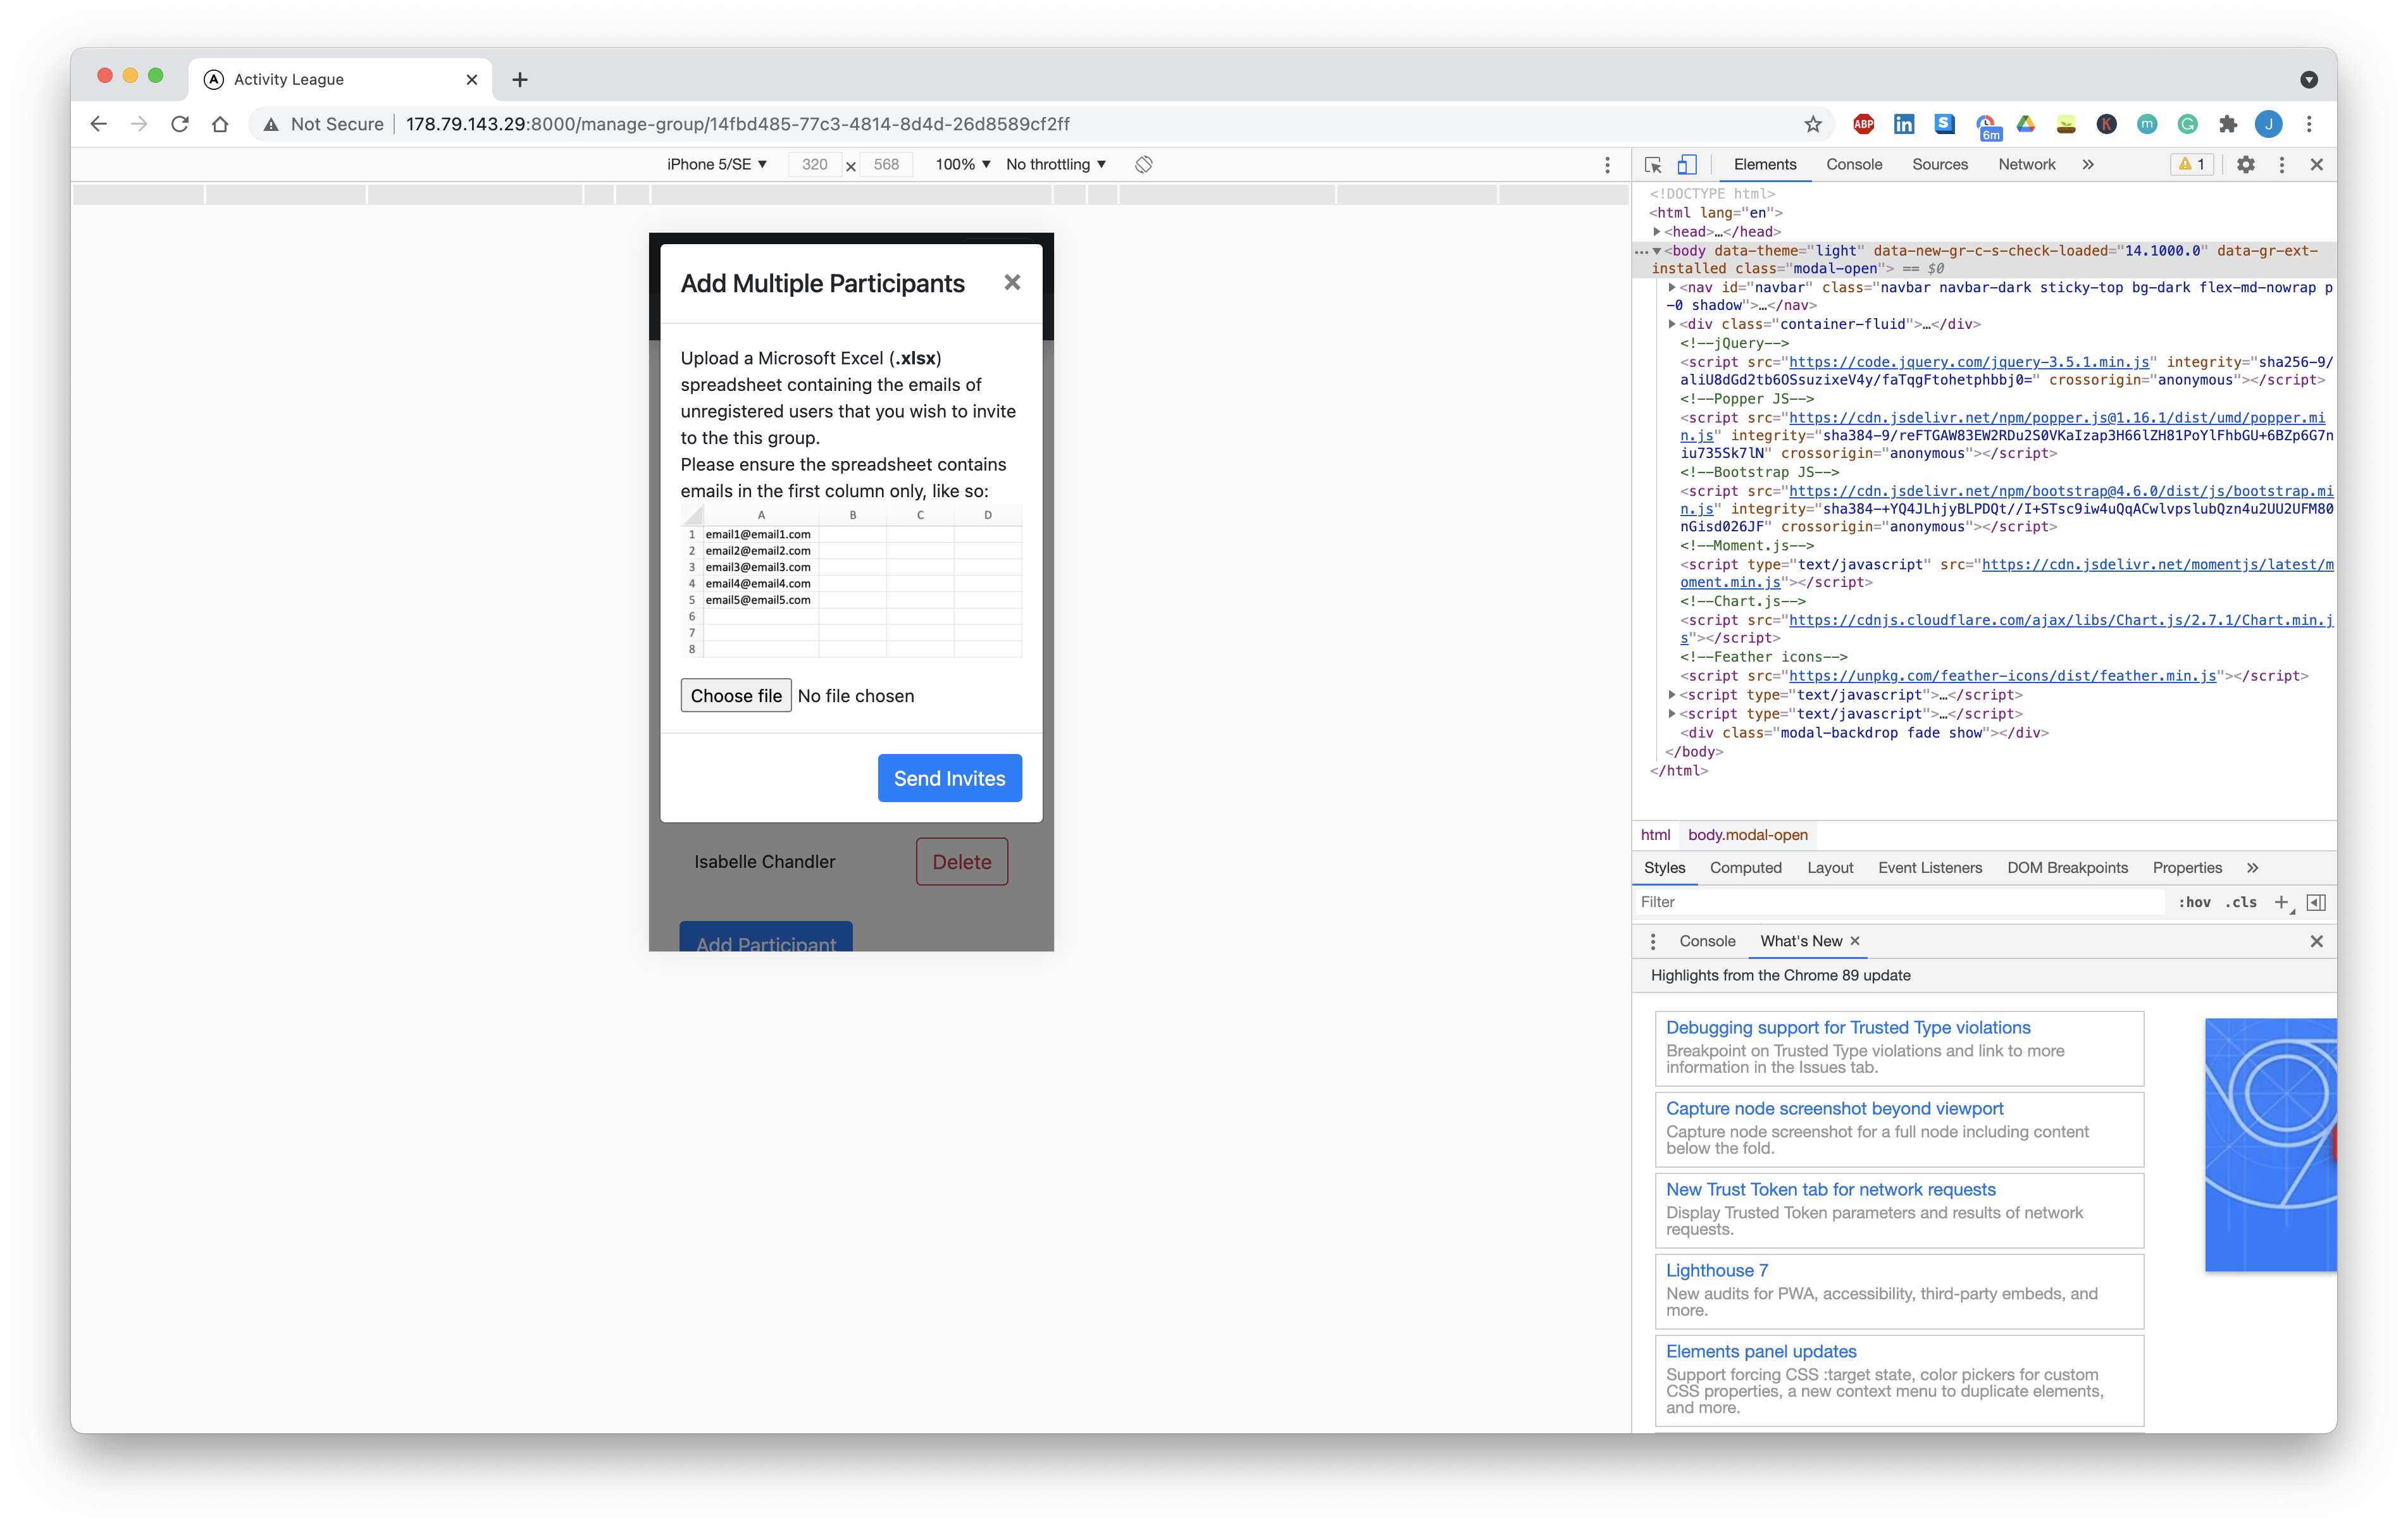
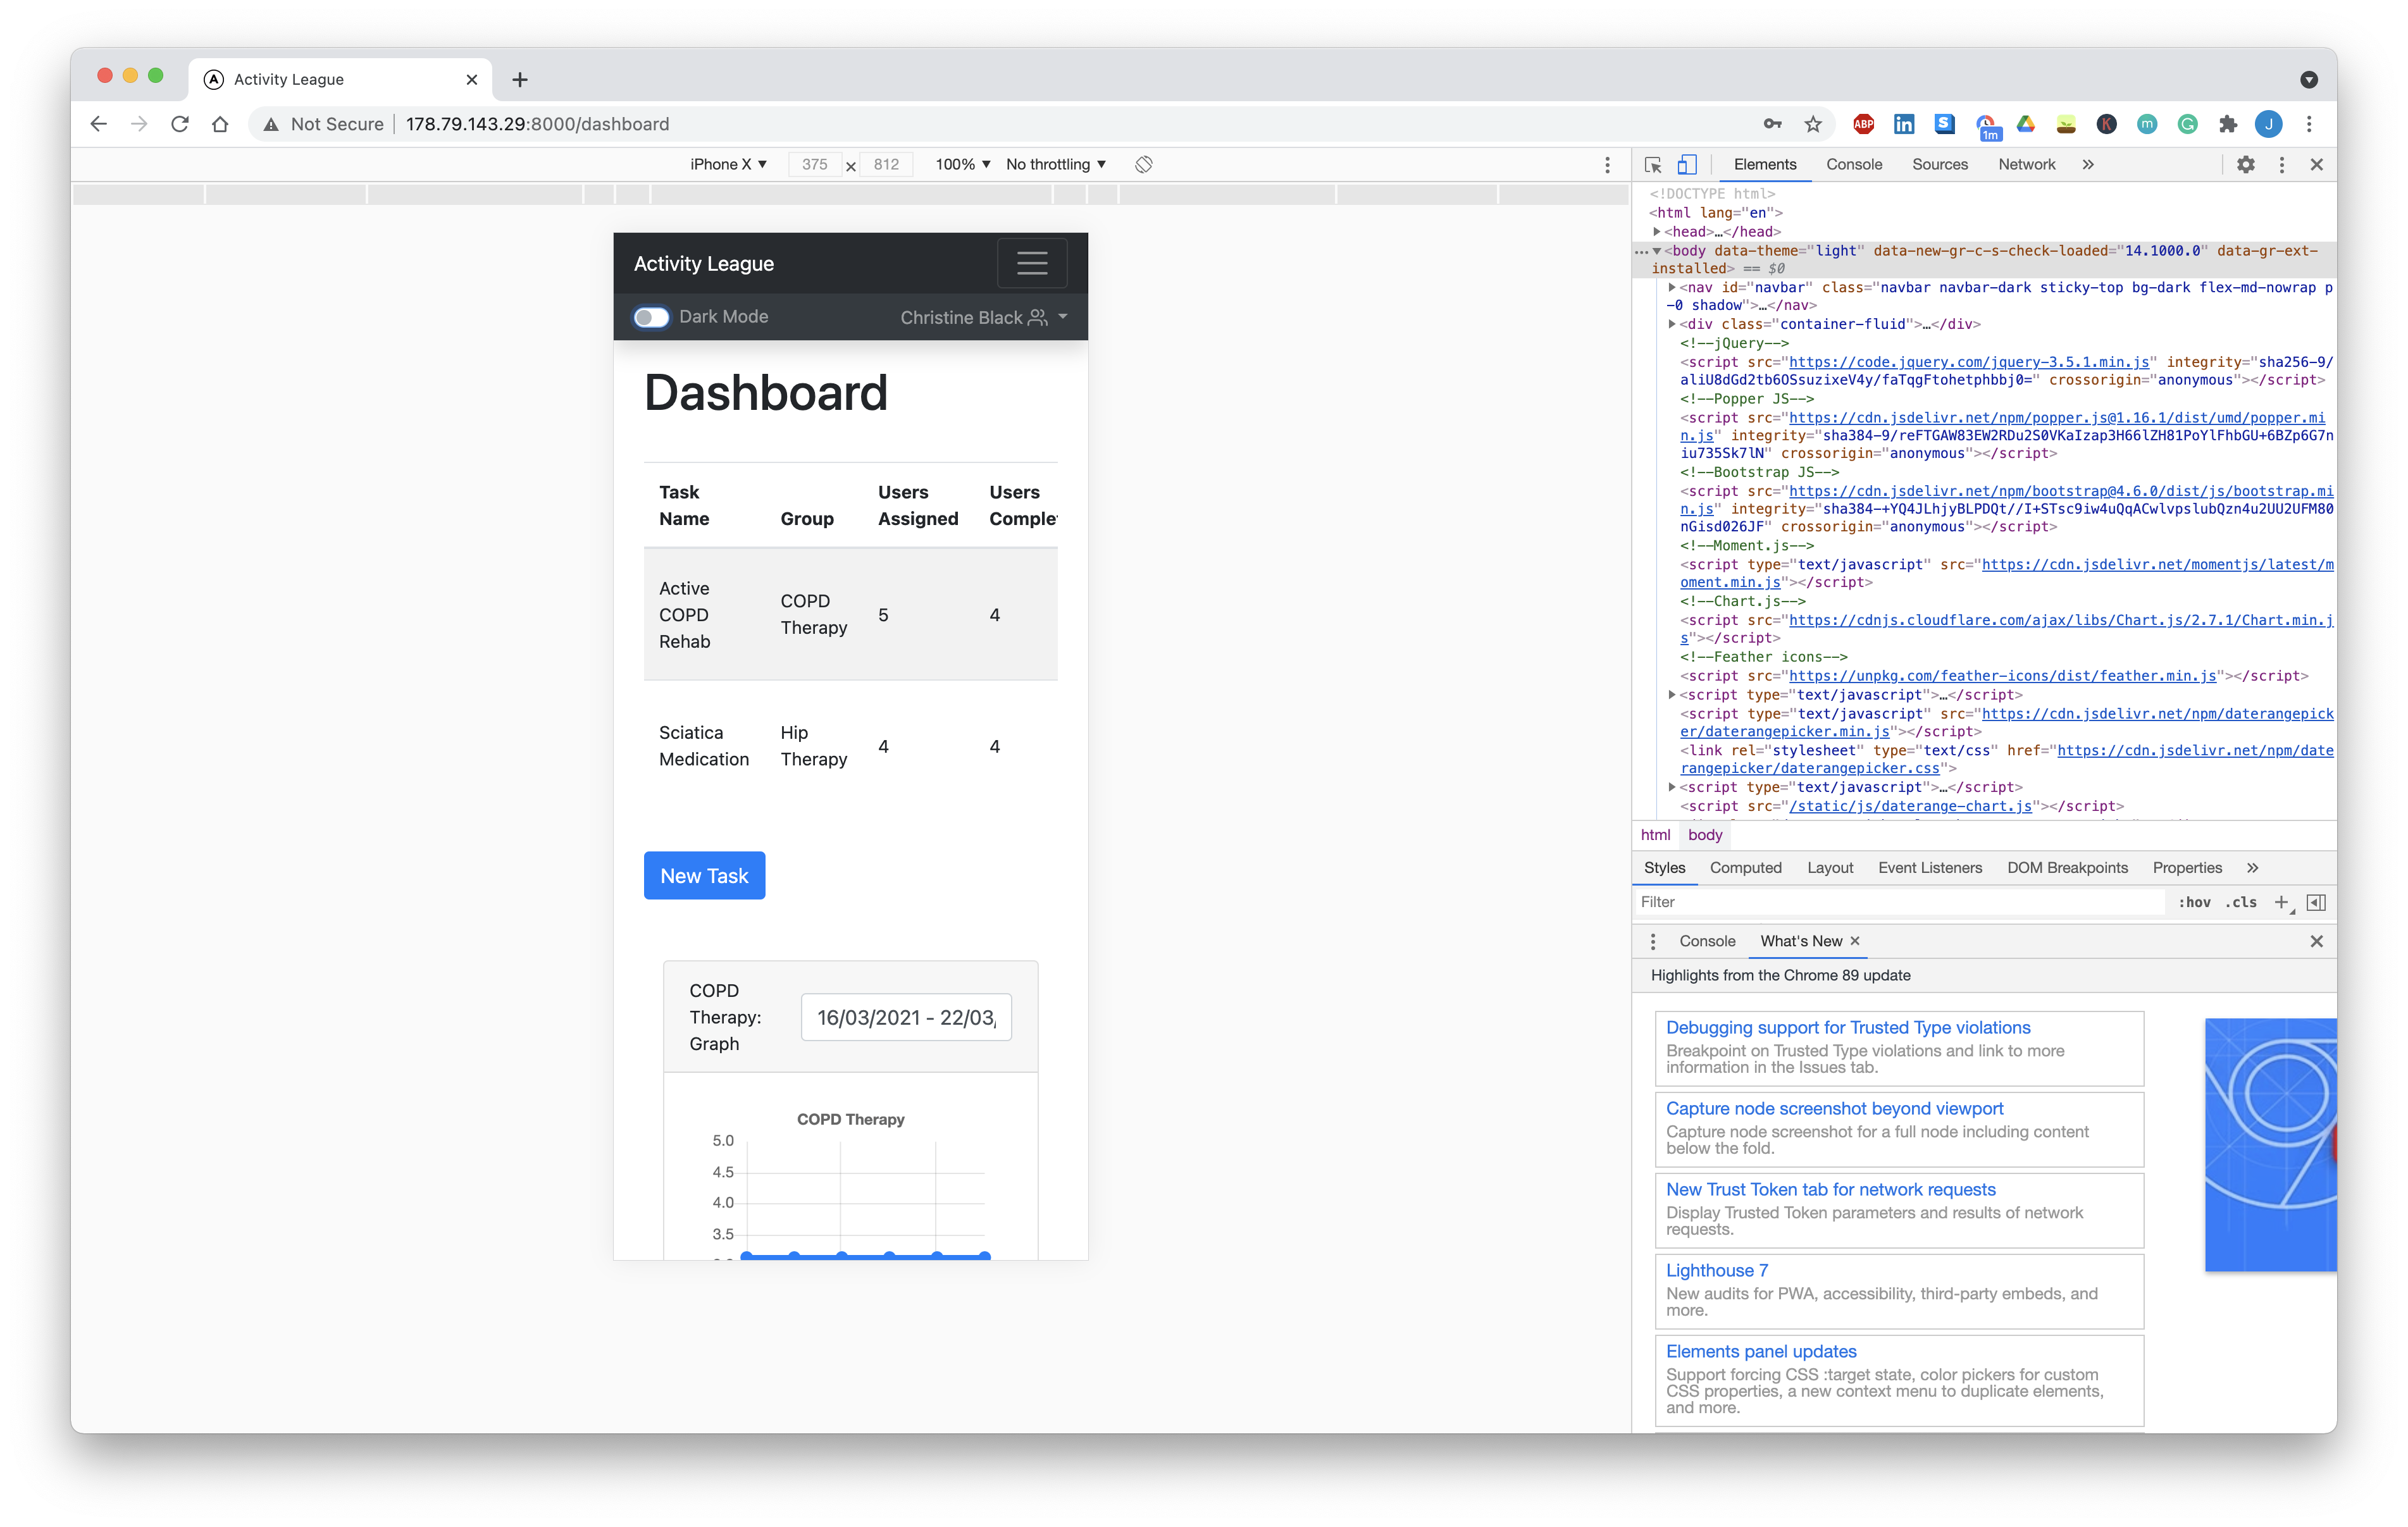
All of the pages in our application are now completely responsive.
Guides
Using mkdocs, we’ve created comprehensive user reference manuals for both types of user: Surveyor and Respondent, which will be made available through our project website.
We’ve also taken the initiative to create a Getting Started guide, which acts as a logical tutorial for those new to the platform to generally get a feeling for it and how it works.
All guides are self-referential and unambiguous (all app-specific terms used in the manual are linked and defined elsewhere in the manual) for those who are initially unfamiliar.
Next Steps
Over the course of the next few weeks, there are a few areas which we need to work on as submissions to the project:
- Testing (Integration)
- Individual Reports
- Project Website
- 2 minute promo video
These are among the final things to work on, and will be part of the focus of our attention over the next week.